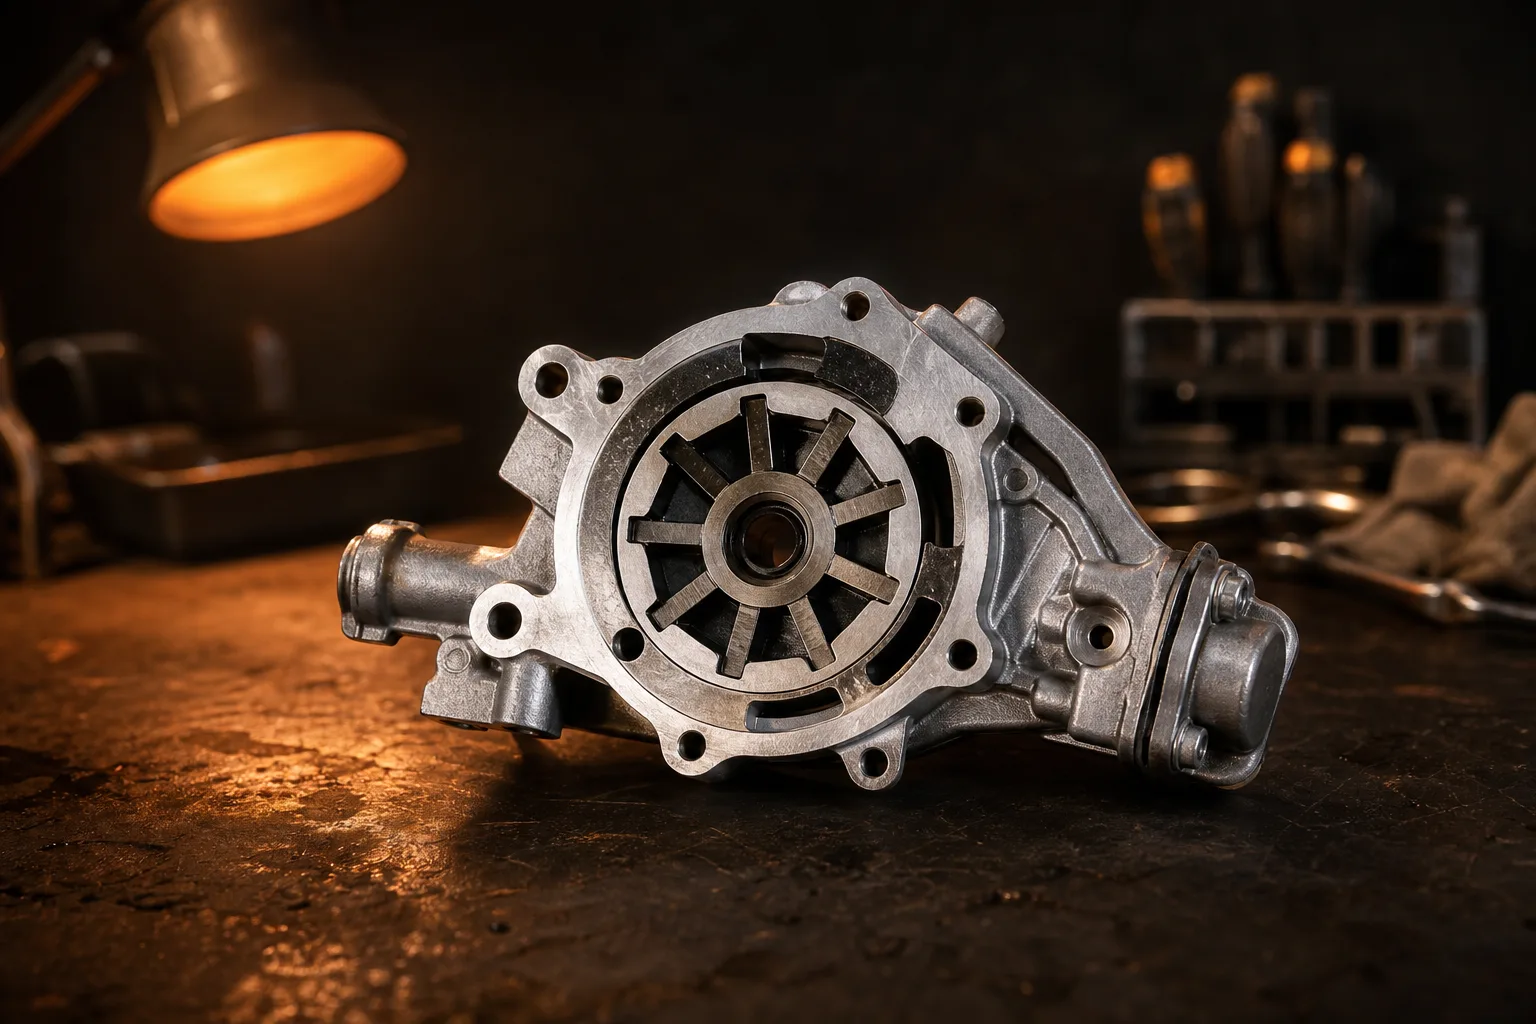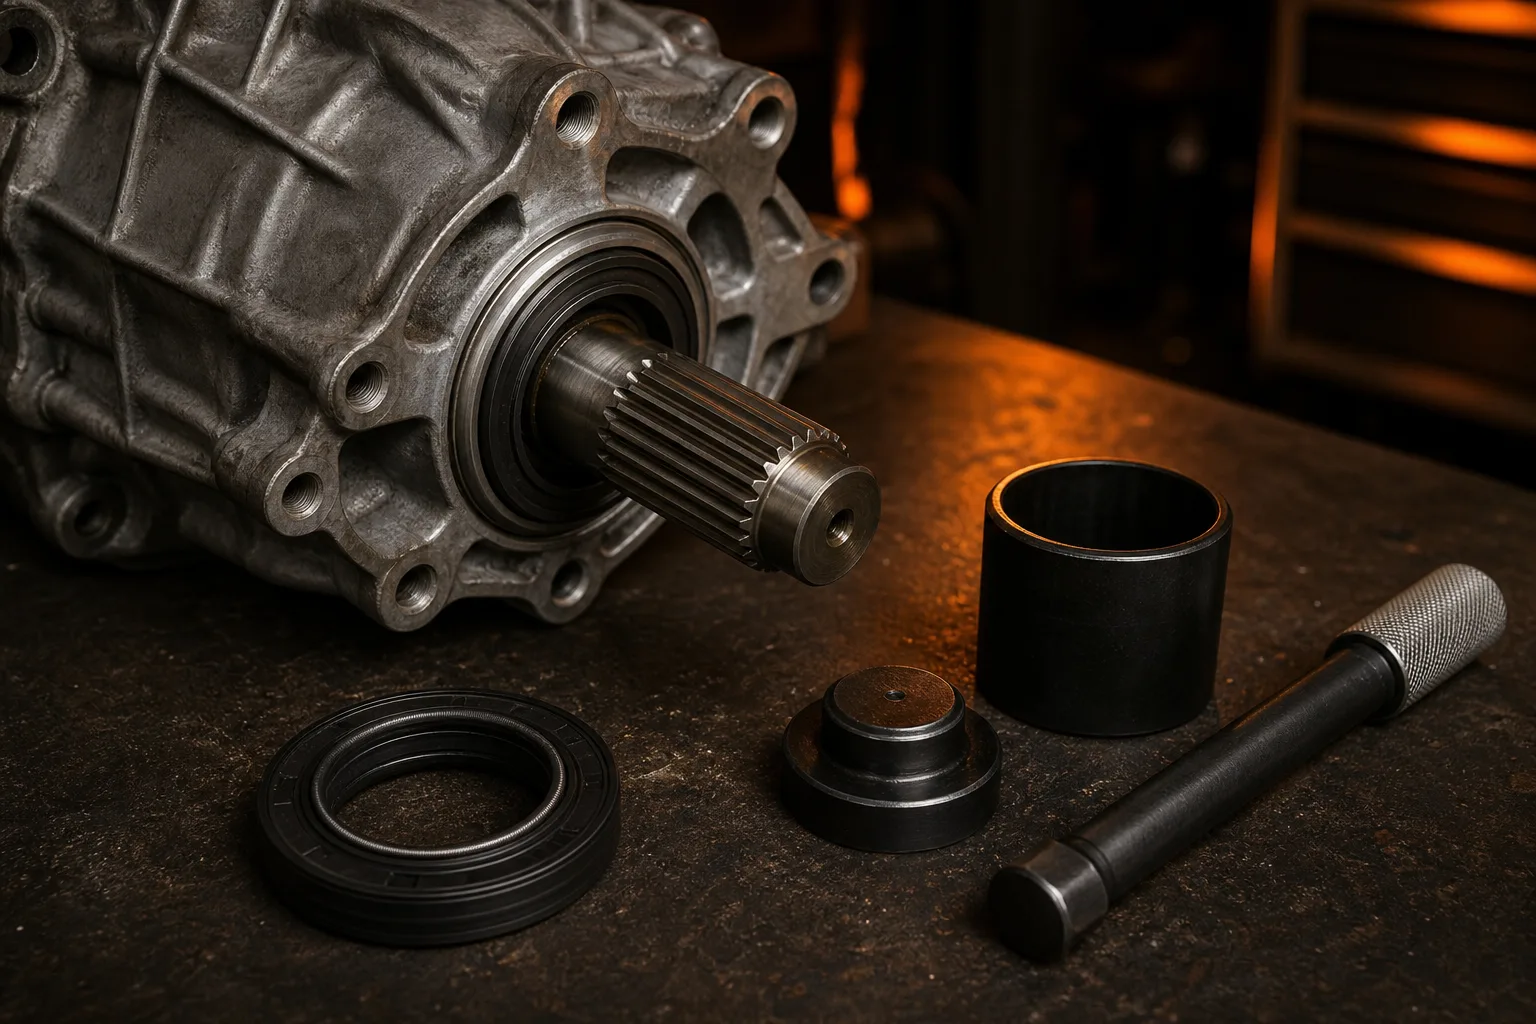
Transfer case and axle seal leaks often appear gradually — a faint oil mist on the underbody, a damp spot on the garage floor, or a low fluid level discovered during routine service. Replacing the seal itself is rarely the hardest part; ensuring the sealing surface, bearing preload, and reassembly sequence are correct determines whether the repair lasts.
Identifying the Leak Source Accurately
Multiple components share the same general area beneath a four-wheel-drive vehicle. We clean the underside, apply UV dye where appropriate, and run the drivetrain through a controlled cycle before assuming which seal has failed. Misidentifying the source leads to unnecessary disassembly and repeat labor.
- Output shaft seal weep at the rear of the transfer case
- Pinion seal seep at the front or rear differential
- Adapter housing gasket failure between transmission and transfer case
- Overfilled fluid level forcing past vent or weakest seal point
Controlled Disassembly Principles
Removing a transfer case or axle shaft requires marking mating surfaces, supporting the assembly weight properly, and cataloging fasteners by location. Snap ring grooves and bearing races scratch easily; we use dedicated pullers rather than prying tools that deform sealing surfaces.
Seal Surface Inspection
The shaft surface where the lip rides must be smooth and within wear limits. A grooved or polished spot from a previous seal failure will destroy a new seal within days. Light polishing with the correct abrasive followed by measurement confirms whether the shaft is reusable or requires replacement.
Installation Technique
Seals must be driven square using a driver sized to the outer diameter — never the inner lip. We apply the recommended lubricant to the lip and verify orientation before seating. On output shaft seals, depth from the housing face is measured against specification; too shallow or too deep changes lip contact pressure and causes immediate weep or premature wear.
Post-Reassembly Leak Testing
Static inspection after fluid fill catches obvious mistakes, but load testing reveals what idle checks miss. We exercise the transfer case through two-wheel and four-wheel modes, then inspect again after the assembly reaches operating temperature. A brief road test followed by a lift inspection confirms the repair before the vehicle is returned — closing the loop on a documented reassembly process.